How to install Cisco switch C9200l-48T-4G-E?
 Feb 25,2024

 Moka
Moka
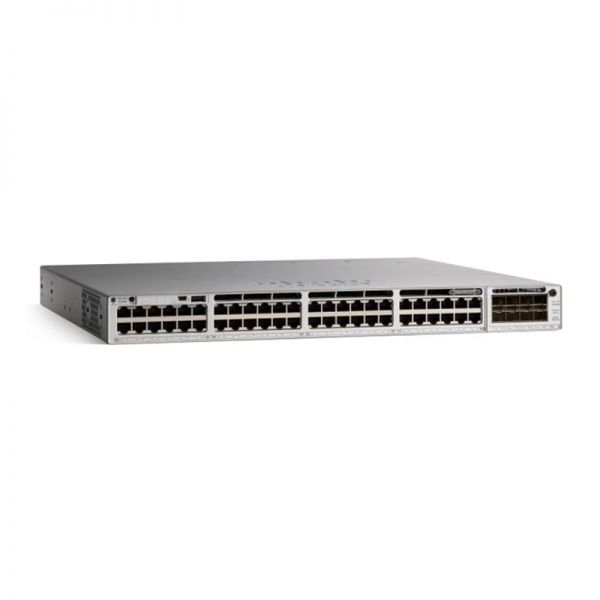
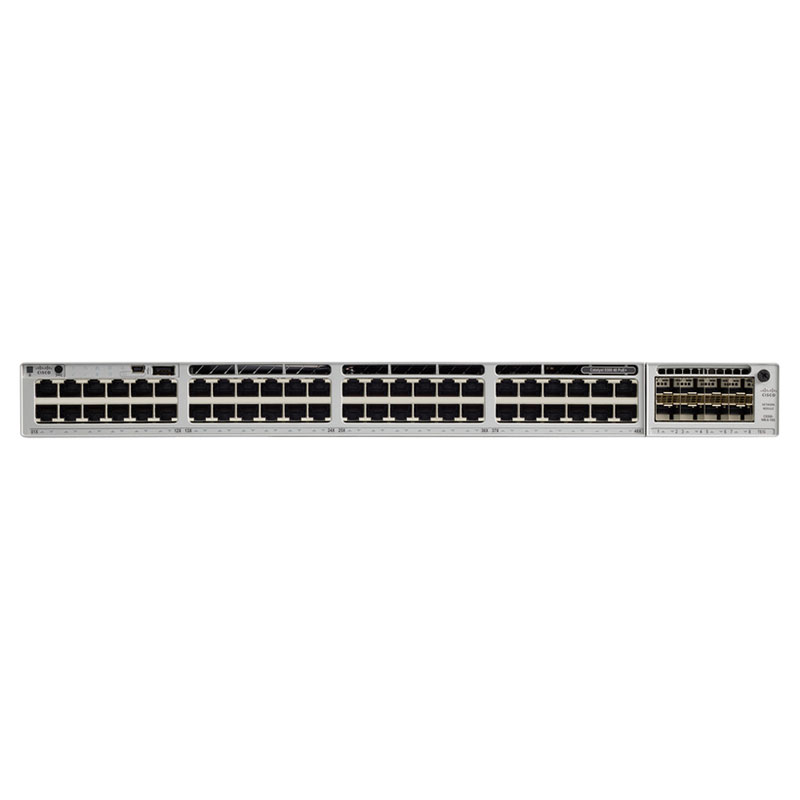
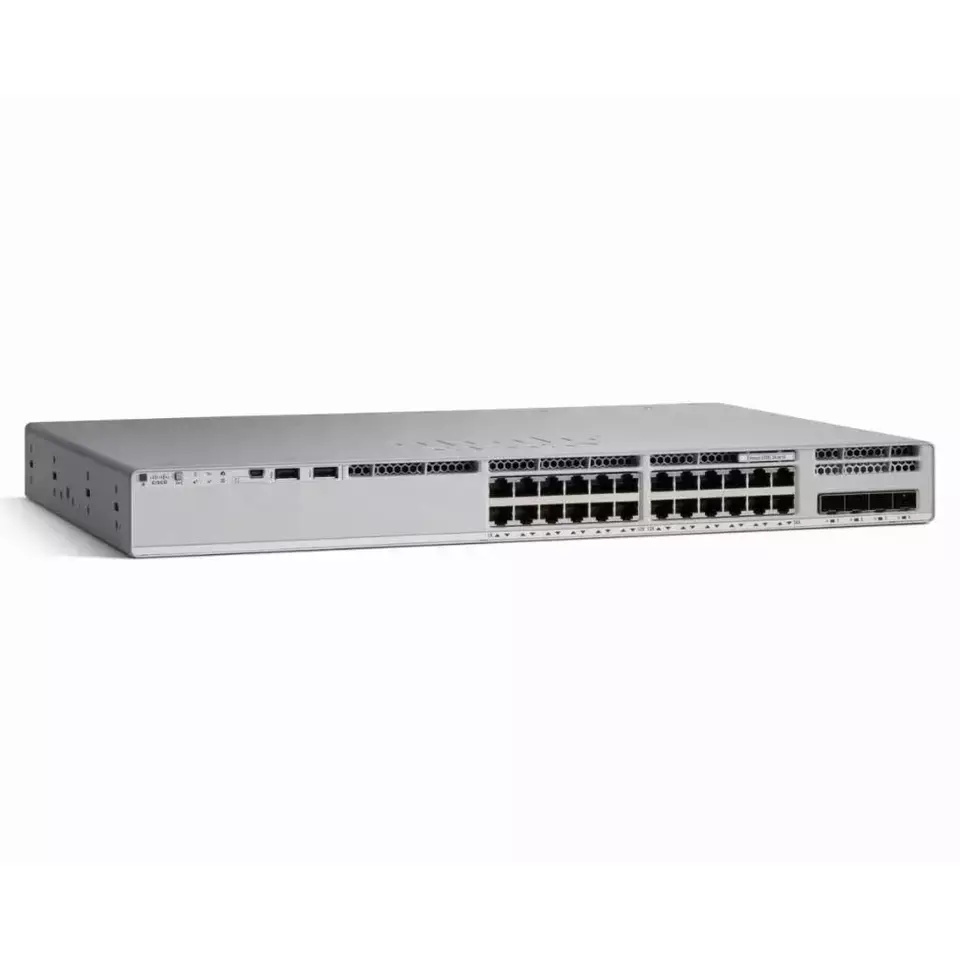
This is our C9200L-48T-4G-E Installation Guide: Step-by-step instructions for safely and efficiently installing your Cisco Catalyst 9200L-48T-4G-E switch. Get expert guidance to set up your network equipment hassle-free.
Introduction
We welcome you to the comprehensive installation guide for the Cisco Catalyst 9200L-48T-4G-E switch. The purpose of this guide is to assist you in installing this switchrouteragent device smoothly, whether you are an IT professional, network administrator, or simply setting up a new network infrastructure. Each step of the setup process will be guided by us, ensuring a smooth and secure experience. You will be able to install the C9200L-48T-4G-E switch at the end of this guide, ensuring reliable connectivity for your organization. Let’s begin the installation process.
Table of Contents
C9200l-48T-4G-E Installation Guide
Are you ready to dive into the world of networking with the Cisco Catalyst C9200L-48T-4G-E? The comprehensive installation guide will guide you through every step of the process, whether you’re a seasoned IT professional or just getting started. We have you covered from unboxing to configuration.
1. Unboxing and Inspection:
- The Cisco Catalyst C9200L-48T-4G-E switch and its accessories should be carefully unpacked.
- Verify that all contents are present and undamaged, including the power cord, mounting brackets, and documentation.
2. Mounting:
- Select the ideal location for your switch, taking into account factors such as airflow, accessibility, and cable management.
- Mount the switch securely on a rack or wall by using the mounting brackets provided.
3. Powering On:
- A power outlet should be connected to the switch and the power cord should be connected to the switch.
- Typically, the power button is located on the front panel of the switch. Press this button to turn on the switch.
4. Initial Configuration:
- You will need to connect a console cable to the console port on the switch and the other end to your computer’s serial port or USB port (using a USB-to-serial adapter if necessary).
- You will need to open a terminal emulator program on your computer (such as PuTTY or TeraTerm) and configure it to communicate with the switch using the appropriate serial port settings (9600 baud rate, 8 bits of data, no parity, 1 stop bit, no flow control).
- You will be asked to enter initial configuration details, such as the hostname, IP address, and administrative credentials, once you have connected.
5. Network Connectivity:
- Ethernet cables should be used to connect network devices to the switch, ensuring proper cable management to prevent tangling and strain on the cables.
- Ensure that VLANs, trunks, and port settings are configured appropriately to establish network connectivity between devices.
6. Testing and Verification:
- Ascertain that all devices connected to the network can communicate with each other and access network resources.
- Check for connectivity issues by pinging the devices and performing basic functionality tests.
7. Documentation and Maintenance:
- Ensure that the switch’s physical location and configuration settings are documented for future reference.
- Update the firmware and software of the switch on a regular basis to ensure optimal performance and security.
8. Additional Resources:
- For additional assistance with advanced configuration, troubleshooting, and maintenance tasks, please refer to the Cisco Catalyst C9200L Series documentation and support resources.
The following instructions will guide you through the installation process of the Cisco Catalyst C9200L-48T-4G-E. Enjoy your networking experience!
Visual Inspection of the Hardware
The performance of a visual inspection of hardware components is a fundamental aspect of ensuring that any electronic or mechanical equipment functions properly and lasts a lifetime. To identify potential issues, defects, or signs of wear and tear, a visual inspection is an initial assessment in the context of computer hardware, network devices, or any machinery. The purpose of this discussion is to provide an overview of the importance of conducting a thorough visual inspection of hardware and the steps involved.
Importance of Visual Inspection:
- Early Detection of Issues: It is possible to detect physical damage or irregularities during a visual inspection that would not be apparent during performance tests or diagnostics.
- Preventative Maintenance: Visual inspections can assist in preventing costly breakdowns or system failures by resolving minor issues before they progress to a more serious level.
- Safety: It is crucial to ensure that hardware components are in good condition in order to ensure the safety of personnel who interact with or operate the equipment.
- Warranty Claims:
- In the event of a defect or damage to the hardware, it may be possible to support a warranty claim with visual documentation.
Steps for Visual Inspection:
1. External Examination:
- The exterior of the hardware should be checked for visible damage, cracks, and dents.
- Make sure that cables and connectors are not frayed, pins are not bent, or connections are not loose.
- Ensure that all components are properly labeled and identified.
2. Internal Inspection (If Applicable):
- If the hardware can be opened, inspect the internal components for dust accumulation, loose connections, or signs of overheating.
- Ensure that all internal components are securely attached.
3. Ventilation and Cooling:
- Maintain the cleanliness and proper functioning of fans and cooling systems.
- Make sure there are no obstructions that could hinder the flow of air.
4. Circuit Boards and Components:
- Verify that there are no signs of corrosion, burned traces, or damaged components on the circuit board.
- Make sure that the capacitors are not bulging or leaking.
5. Cable Management:
- Make sure that cables are routed and organized in an orderly manner to prevent tangling or damage.
- Make sure that the cable ties or clips are securely fastened.
6. Environmental Factors:
- The hardware’s environment should be evaluated for factors such as temperature, humidity, and dust and contaminants, which may affect the hardware’s performance or longevity.
7. Documentation:
- It is important to keep a record of your visual inspections, noting any issues found and the date of the inspection. Such documentation can be very useful in the future if you need to refer to it.
To ensure optimal performance of your equipment, you should supplement routine maintenance with routine maintenance, including cleaning, software updates, and performance tests. A visual inspection is only the first step in maintaining hardware. In order to maintain the life of your hardware and minimize disruptions in operations, you should conduct regular visual inspections and address any issues promptly.
Firmware and Software Updates
In today’s rapidly evolving technological landscape, it is imperative to keep your devices and systems updated with the latest firmware and software updates. Regular updates are crucial for optimizing performance, adding new features, and, most importantly, enhancing security, whether you are managing a personal computer, a network infrastructure, or any smart device.
Understanding Firmware and Software:
It is important to distinguish between firmware and software before discussing the importance of updates:
- Firmware: Firmware refers to the software embedded in hardware devices. It’s responsible for controlling the hardware’s essential functions, such as booting up and initializing components like your computer’s BIOS (Basic Input/Output System) or your smartphone’s operating system.
- Software: Software encompasses a broader category, including applications, operating systems, drivers, and utilities that run on top of firmware. Examples include your computer’s operating system (e.g., Windows, macOS, Linux), web browsers, office suites, and more.
Why Are Updates Necessary?
- Security: One of the most crucial reasons for firmware and software updates is security. Developers regularly discover vulnerabilities and security weaknesses in their products. Updates often contain patches and fixes to address these vulnerabilities, protecting your devices from cyber threats and attacks.
- Bug Fixes: Updates also address bugs and glitches that can affect the stability and performance of your hardware or software. Fixing these issues can lead to a smoother and more reliable user experience.
- Performance Enhancements: Updates may include optimizations that improve the speed and efficiency of your devices or applications. This can result in faster load times, better battery life, and overall improved performance.
- Compatibility: As technology advances, updates can ensure that your devices remain compatible with new hardware, software, and protocols. This is particularly important in network environments, where interoperability is critical.
- New Features: Software updates often introduce new features and functionalities, enriching your user experience and expanding the capabilities of your devices.
Best Practices for Updating:
- Regularly Check for Updates: Configure your devices and software to check for updates automatically, but it’s also a good practice to manually check periodically.
- Prioritize Security Updates: If available, prioritize security updates to protect your systems and data from potential threats.
- Backup Your Data: Before applying major updates, back up your important data to prevent data loss in case of unexpected issues during the update process.
- Read Release Notes: Review the release notes or changelogs provided by developers to understand what changes and improvements are included in the update.
- Update Everything: Ensure that both firmware and software are kept up-to-date. This includes your operating system, drivers, antivirus software, and all installed applications.
- Scheduled Downtime: In a business or network environment, schedule updates during periods of lower activity to minimize disruptions.
Firmware and software updates are a vital aspect of maintaining the functionality, security, and longevity of your devices and systems. By staying vigilant and regularly applying updates, you can enjoy a safer and more efficient digital experience while harnessing the latest features and improvements available.
FAQ’s
How long does it typically take to complete the installation process as per the guide?
There can be a wide range of installation times depending on your familiarity with the equipment and setup, but on average, it should take about two hours.
Can I install the C9200L-48T-4G-E switch without professional assistance?
This installation guide is designed for both professionals and individuals who wish to install the switch on their own. However, professional assistance is always available if needed.
Are there any post-installation steps or configurations mentioned in the guide?
A few installation guides may include basic configuration instructions, but more detailed instructions are usually provided in separate documents or user manuals.
What should I do if I encounter difficulties during the installation process?
The guide includes troubleshooting sections that may be helpful if you encounter problems. For assistance, contact Cisco’s customer support.
Is it important to keep the installation guide for future reference?
Yes, we recommend retaining the installation guide for reference purposes. The guide can be helpful if you need to maintain, troubleshoot, or reinstall the switch in the future.
Conclusion
For setting up and configuring the Cisco Catalyst 9200L-48T-4G-E switch, the “C9200L-48T-4G-E Installation Guide” is a valuable resource. To ensure a successful installation, this comprehensive guide provides detailed instructions, safety precautions, and essential information. If you are a beginner or an experienced IT professional, following these steps will assist you in getting your network infrastructure up and running efficiently, as well as ensuring the safety and reliability of your equipment.


 Home
Home Cisco Laid Off Employees To Bet On Artificial Intelligence
  You May Also Like


 Tel
Tel
 Email
Email
 Address


